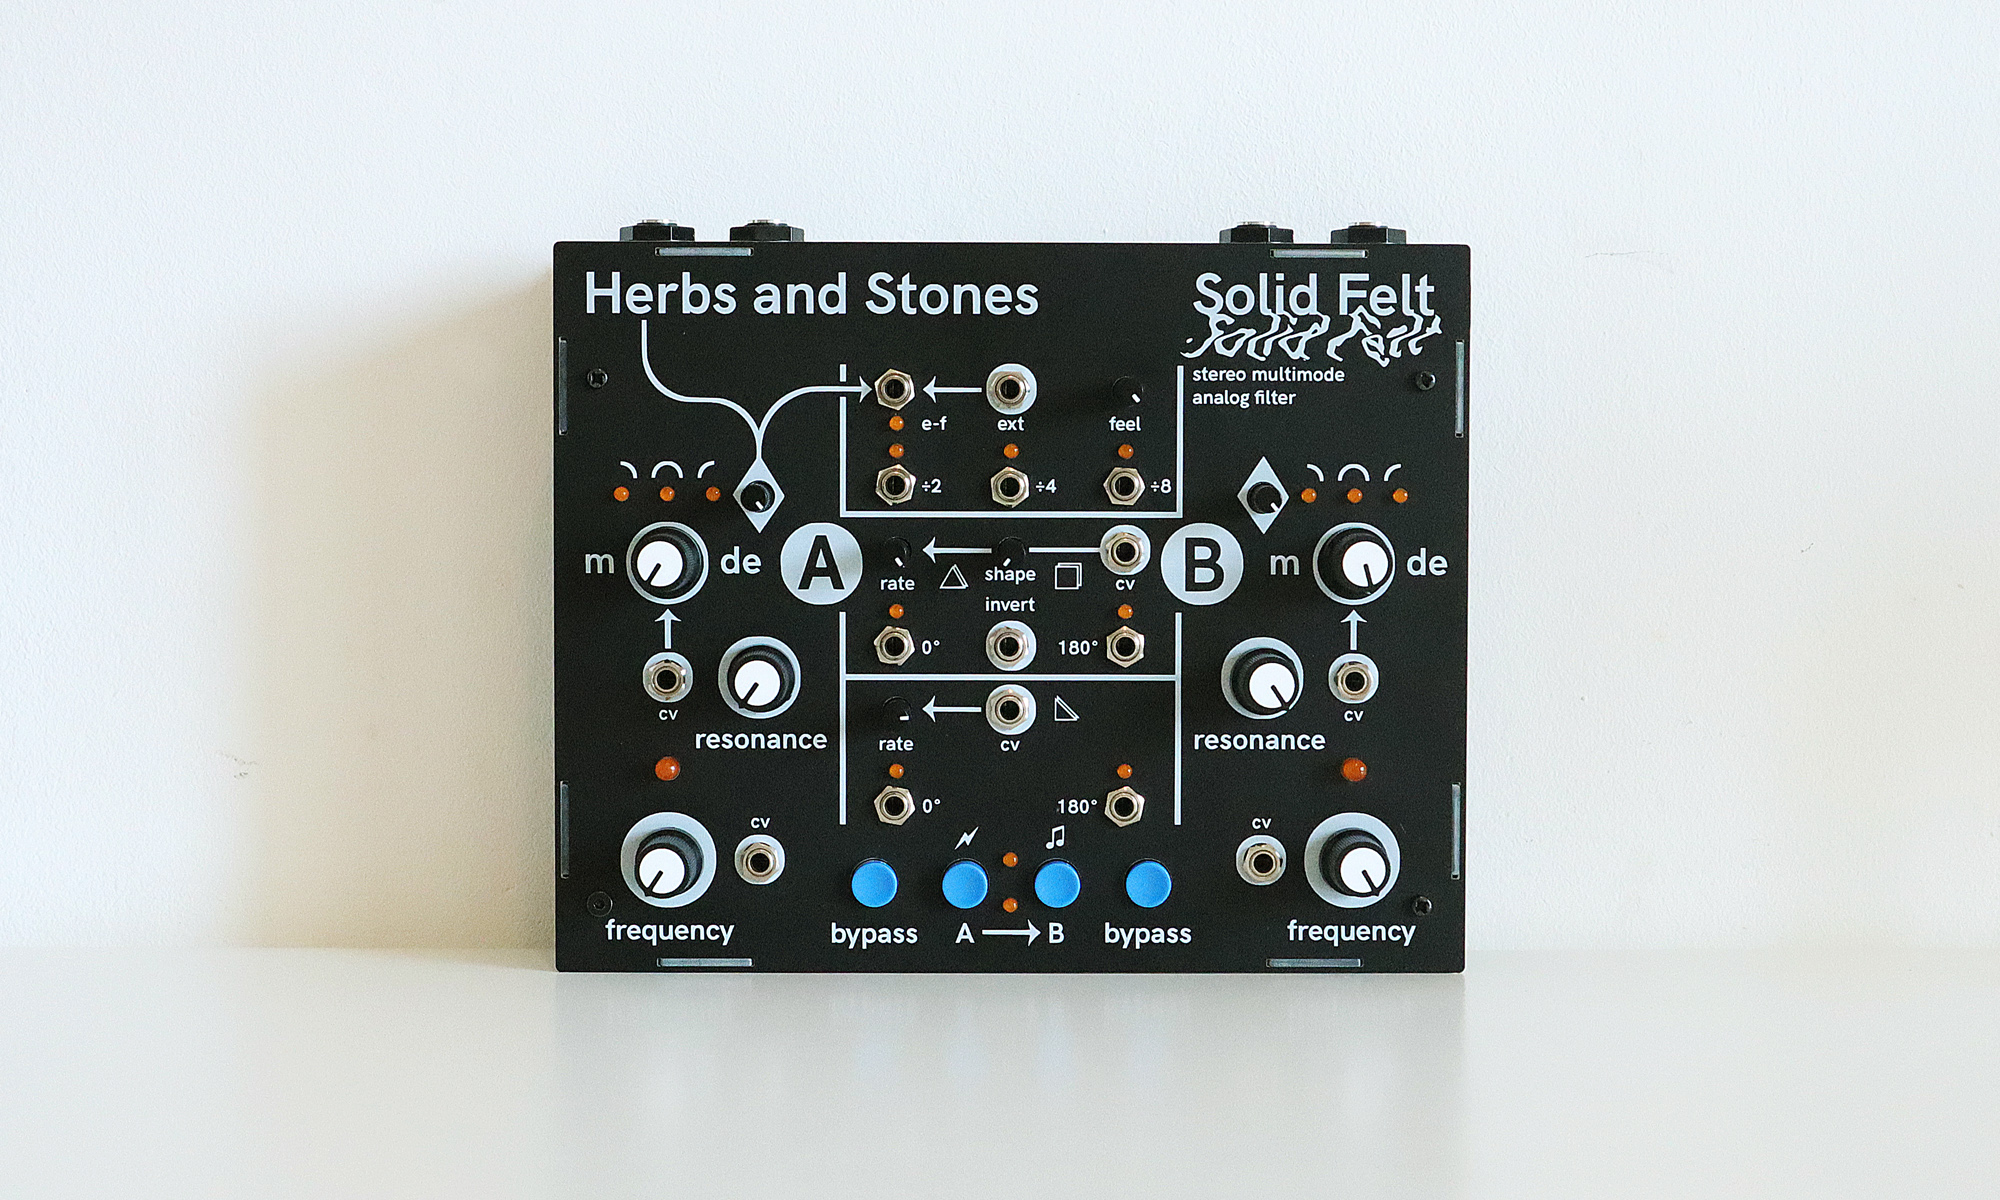
The Solid Felt DIY Kit includes all the components needed to build a full unit:
1x PCB (pre-populated with all the smt components)
1x faceplate
1x enclosure
4x hex spacers
8x m3 screws
1x 1N4001 diode
1x LT1054 IC
1x DC connector
18x LEDs
16x 1/8" jacks + nuts
12x potentiometers + nuts
6x knobs
4x switches
4x switch caps
4x 1/4" audio jacks

Start by placing and soldering all the components that are on the front of the board:
LT1054 IC
1N4001 diode
DC Jack
audio jacks

Rotate the board and put in place all the minijacks, rotate again and solder all the legs.

Add the potentiometers as in picture, the biggest ones have an anti-rotating tag that has to be removed with some pliers, rotate the board and solder all of them.

Put the switches in place (caution! match the symbol on the pcb silkscreen with the one on the switch for correct orientation), solder them and add the blue switch caps.

Put the LEDs in place, but don't solder them! the shorter legs go to in the hole inside the square footprint.

It is now time to merge the circuit board with the front panel, once everything is in place put the nuts and tighten them.
Push the LEDs through each of their own holes, solder the leads and trim the leg excess.
Join the back part of the enclosure and tighten the audio jacks.
Audio test time!

Put in place the hex spacers on the bottom part of the enclosure and join together the remaining pieces of the unit.
Put on the knobs and the last four screws to keep everything together. Done!